Stamped metal parts fail in ways that are physically constrained by the stamping process itself. Understanding the mechanics of each failure mode - why it occurs, where on the part it appears, and what visual signature it leaves - determines everything about how you set up an inspection system to detect it reliably. This is not a generic overview of machine vision; it's a defect-specific technical guide for the most common failure classes we encounter on stamping lines.
Edge roll and edge tearing
Edge roll occurs when the sheared edge of a blank bends back during the draw operation, reducing local material thickness and creating a curved surface profile where a flat edge should be. At inspection, it appears as a change in the edge shadow profile under raking light. Edge tearing is more severe: the material cracks along the draw radius, typically at corners or features with tight bend radius relative to material thickness.
For edge roll detection, grazing-angle illumination (light source at 10-20 degrees from the part surface, perpendicular to the edge direction) is most effective. The shadow depth correlates with roll severity. For edge tearing, either structured light or coaxial illumination on the edge cross-section works - the crack gap creates a distinct dark region against the illuminated edge. Model architectures: a classification model on small crops of the edge region outperforms a full-part model for both defect types, because the feature is local and the false-positive risk from other part geometry is lower with tight crops.
Surface cracks and micro-cracks
Surface cracks on stamped parts typically originate at high-strain regions: draw radii, embossed features, and transitions between flat and formed areas. They range from visible through-cracks to hairline surface cracks that are 0.1-0.3mm wide but may be 10-20mm long. At the hairline end of the range, they are invisible under diffuse illumination and require coaxial or dark-field lighting to create sufficient contrast.
Coaxial lighting illuminates the surface perpendicularly and reveals scratches and cracks as dark lines against a bright surface background. Dark-field illumination (angled light, camera normal to part surface) works oppositely: the crack scatters light toward the camera, appearing bright against a dark background. Either works for hairline cracks; coaxial tends to produce cleaner contrast on polished or semi-polished steel surfaces.
For model architecture, anomaly detection approaches (training only on good parts, flagging deviations) work reasonably well when crack examples are scarce. Supervised classification models outperform anomaly detection once you have 200-plus labeled crack examples per defect subtype. Most deployments start with anomaly detection and transition to supervised classification after 4-6 weeks of production data collection.
Thinning and localized necking
Material thinning at draw radii is a process-state indicator rather than a visible surface defect - the part surface may look intact while the material has thinned below spec, creating a future failure point. For inline camera inspection, thinning cannot be reliably detected by standard 2D imaging unless it has progressed to the point of necking (local constriction visible as a change in surface highlight pattern) or incipient cracking.
For processes where thinning is the primary concern, laser profilometry or structured-light 3D scanning provides better information than 2D imaging alone. Camera-based AI is not the best primary tool for sub-surface material thinning that has not yet produced a surface anomaly. Be clear with your operations team about this limitation; mismatched expectations create credibility problems for the inspection program when borderline parts pass.
Die pickup and surface contamination
Die pickup occurs when material from the blank (oxide scale, coating flakes, or bare steel) transfers to the die face and re-embosses onto subsequent parts as raised or indented features. It typically appears as a small raised point or cluster on the part surface, often with a regular repeat pattern corresponding to the die feature that's carrying the pickup.
Coaxial illumination reveals die pickup clearly as bright spots (raised) or dark spots (indented) against the flat background. Because pickup is often localized to a specific region of the die, the location of pickup marks on parts is consistent - this allows tight inspection region masks that reduce false positives from normal part geometry variation.
Surface contamination (lubricant residue, metal chips, oxidation) produces diffuse surface reflectance changes rather than discrete features. The challenge is distinguishing contamination from acceptable surface finish variation, which requires careful baseline sampling of good parts under consistent illumination. Shot noise in the image is a bigger problem for diffuse contamination detection than for discrete crack detection, which argues for higher-resolution cameras (12MP or above) on lines where contamination is a primary defect class.
Dimensional deviation and hole-position error
Dimensional deviation - features present but out of position or wrong size - is detectable by camera for tolerances in the 0.3mm-and-above range at typical inspection station working distances. Below 0.3mm, you need either a much shorter working distance (higher magnification) or contact measurement.
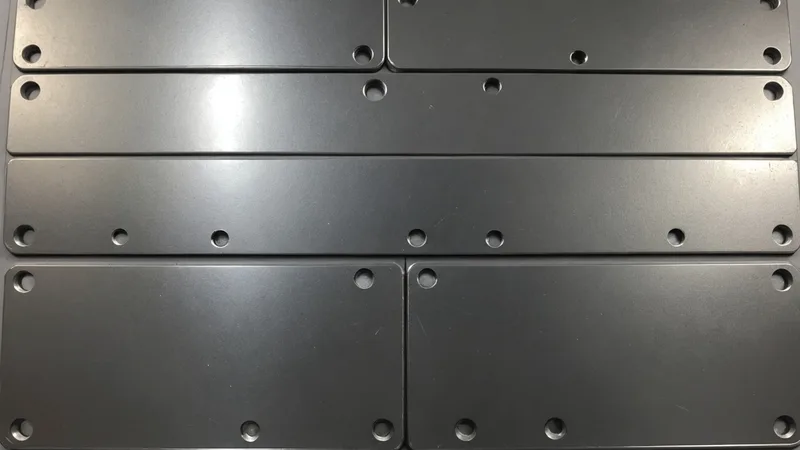
For hole position inspection, circle-detection algorithms with a known template provide 0.1-0.2mm position accuracy at 2-4 meter working distance with a 12-20MP camera and appropriate optics. For dimensional features without a regular geometry (formed edges, embossments), photogrammetric pattern matching works but requires good calibration and minimal part-to-fixture variation. Variation in part-to-camera distance degrades dimensional accuracy in 2D imaging, so consistent fixture repeatability matters more for dimensional checks than for defect detection checks.
Putting it together: a defect-driven inspection design process
Before specifying a camera inspection system for a stamped part, list your actual defect classes and their historical frequency. Then trace each defect class to its physical mechanism and note what illumination strategy reveals it and what spatial resolution the smallest defect instances require. That exercise usually reveals that two or three illumination modes cover all your defect classes - or it reveals that one defect class (like sub-surface thinning) is not addressable by camera and needs a different approach.
The most common over-specification mistake is assuming that higher resolution always produces better defect detection. Resolution gets you to a point of diminishing returns quickly for most stamped metal defect classes. What usually matters more is illumination design, consistent fixturing, and a training dataset that includes examples from all production conditions (morning startup, steady state, end-of-shift tool wear) - not more megapixels.